Custom Search
|

|
|---|
|
|
|---|
|
|
|---|
|
Custom Search
|
|
|---|
Recommended for developers:

![]()
Lesser Goldfinch family preening
![]()
LCD Vs. CRT - Do LCDs finally match CRTs in picture quality?
ECS P965T-A Motherboard
ABIT AN8 SLI Motherboard
Foxconn 975X7AB-8EKRS2H Motherboard
Foxconn BlackOps Motherboard
![]()
My misadventures flying with Allegiant Air
![]()
The Missing Post Mystery
A post I made to a Vista newsgroup was missing from the Outlook newsreader
Where did it go?
The Missing Post Mystery Revisited
It happened again! A post I made to a Vista newsgroup was missing from the Vista Mail newsreader
Where did it go?
A Case of Maxtaken Identity
When is a hard drive not a hard drive? Find out when!
![]()
Changes to the Windows 7 Taskbar You Should Know About
Vista Image Capture 'Slipstream' SP1 and SP2 into a single Vista install disc
Detailed Instructions for Reverse Integrating SP1 and SP2 into Vista
What is RAID? Some RAID Basics
RAID 5 on a Desktop PC
How to Personalize Windows Vista
Develop and Implement a Personal Backup Plan
Ten things you can do to create better documentation
(Tech Republic)
Flash Your BIOS
Three Good Reasons for Flashing Your BIOS
Ten common mistakes you should avoid when flashing your BIOS
(Tech Republic)
Find a new dial-up ISP
Sign up for 10 free hours of NetZero access!
Create a Shutdown/Sleep/Restart or Continue Icon For the Vista Desktop
What is a computer guy doing with home remodeling projects on his Website?
The Upscale Utility Room Remodel with Catch Basin and Wraparound Ceramic Tile Wall
The Bathroom Remodel for Under $1000 Project
The Do It Yourself Bedroom Engineered Prefinished Red Oak Wood Flooring Installation From Hell
Bedroom Remodel With Wood Parquet Flooring
Use Comodo Internet Security 4.0 to Lock Down Your PC Following a Windows Install or Reinstall
![]()
The Northstar Horizon Microcomputer
![]()
Round-Tailed Ground Squirrels

Prairie Dogs

American Kestrel Falcons "Sparrow Hawk"

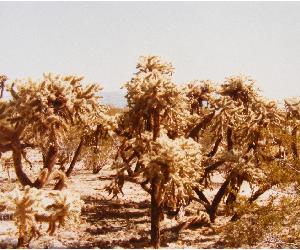
Arizona Sonoran Desert
Arizona Sunsets

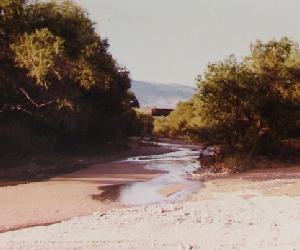
Cienega Creek
Trains In the Desert

Desert and Mountain Flowers

Fox Squirrels

![]()
The Other Reason Why Your Irrigation Valve Might be Leaking
My Response to the Newegg Affiliates Program Changes
Playing the Rebate Game
Know the Rules Before You Play
Vista Confusion
The four questions you need to ask before buying Vista
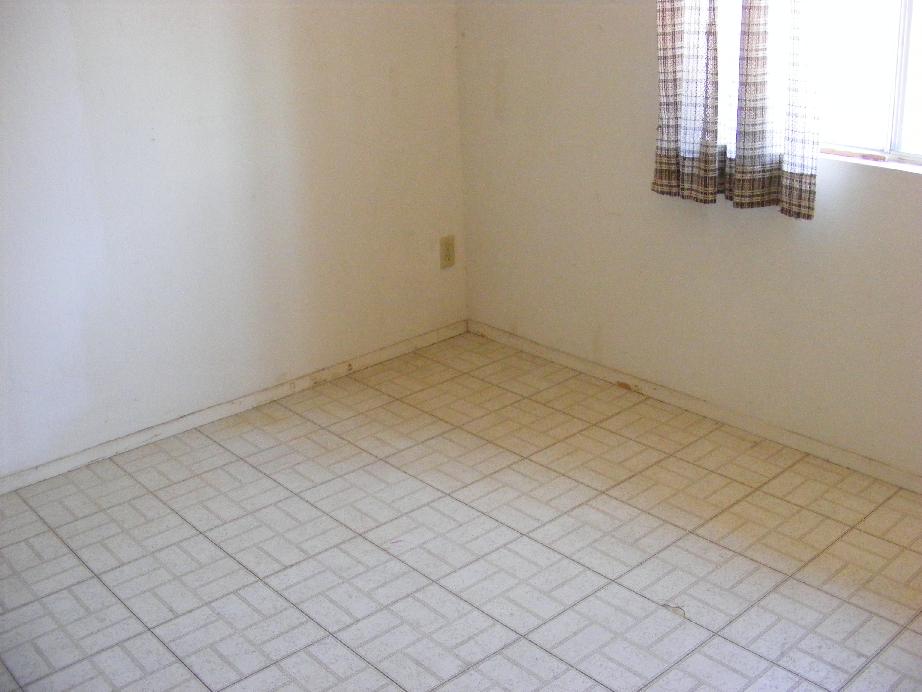
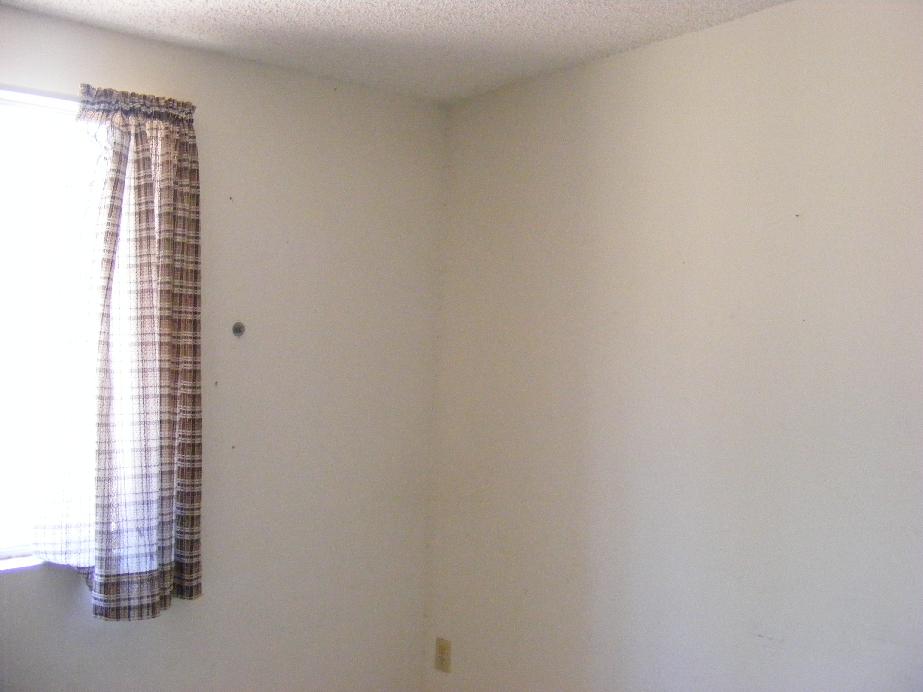


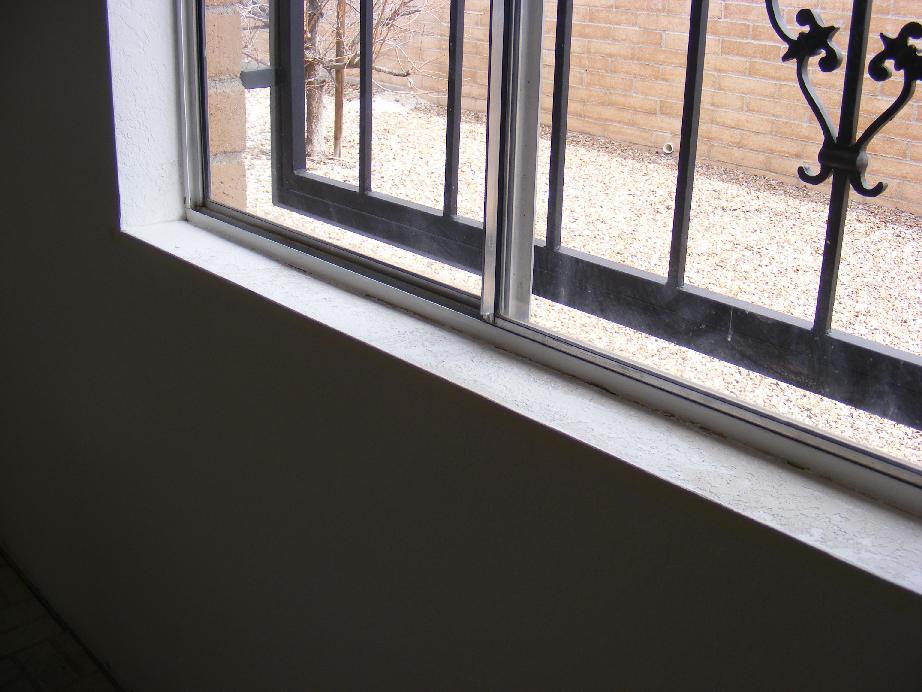
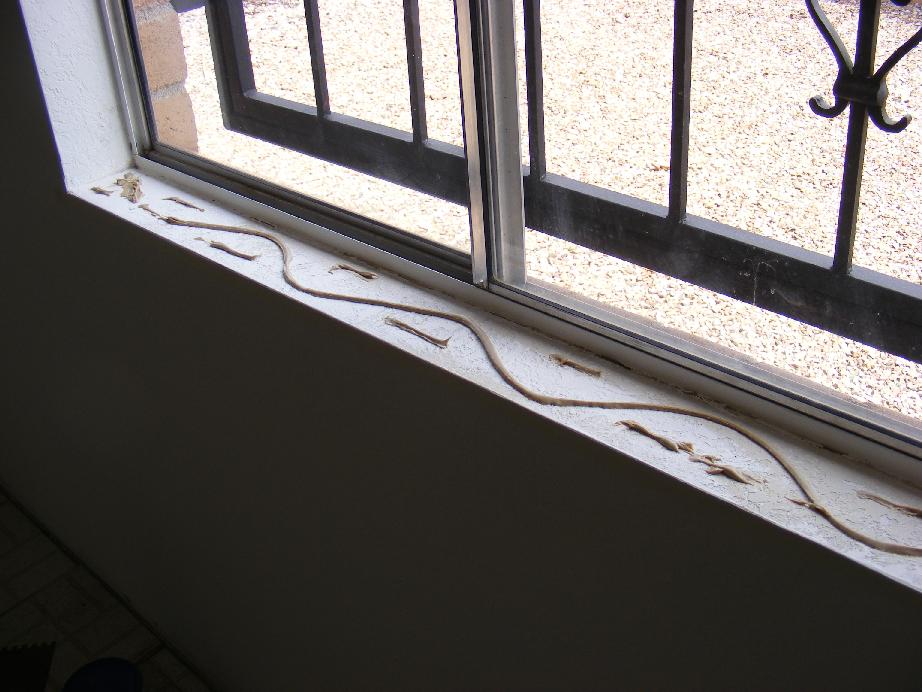
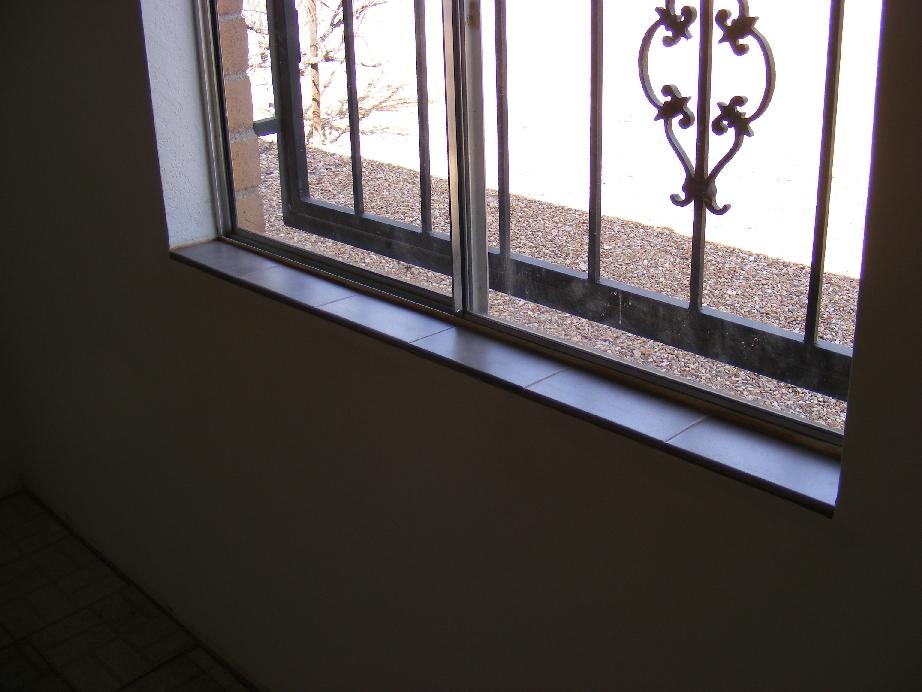

This is the second home that I have installed ceramic tile on the window sills. I abhor those painted window sills that get dirty and never can be cleaned without removing some of the paint.
I found some 3 3/4 inch wide bull-nosed tiles at the Habitat for Humanity Habistore that exactly matched the width of my window sills. I have a tract home and there is no such thing as a standard window sill width. For the most part the tiles could be laid down without having to cut them.
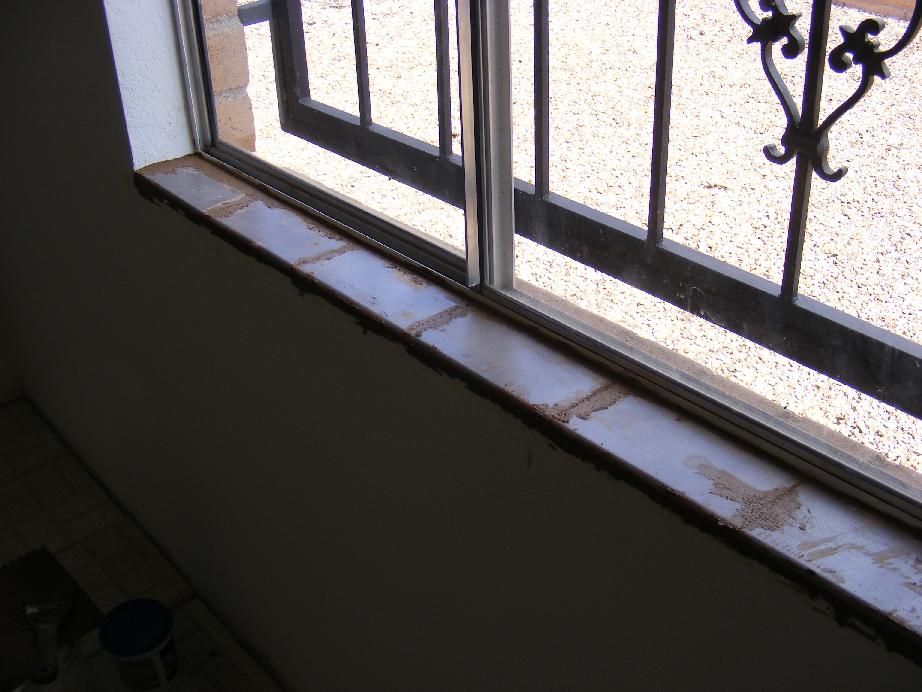
I tried putting liquid nails over most of the sill and a line of sanded light brown colored grout on the front edge of the sill in my first bedroom remodel but that was very messy. Even with masking tape just below the window sill edge I had to repaint the wall where the grout had found its way under the masking tape. In the second bedroom install I put the grout directly on the tile. Even with the grout wetter than normal, the grout quickly dried making the working time very short. I will wet the bottom front edge of the tiles before the next install.
The installation is fairly simple:
Of course it would make more sense to put the window sill tiles in place before painting the room. My project management skills are a little rusty.
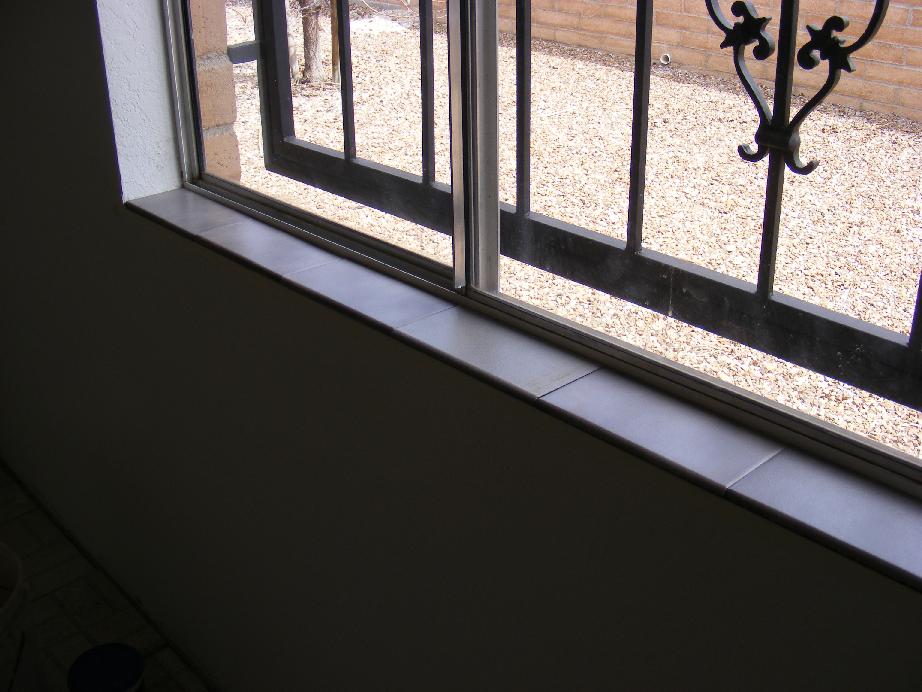
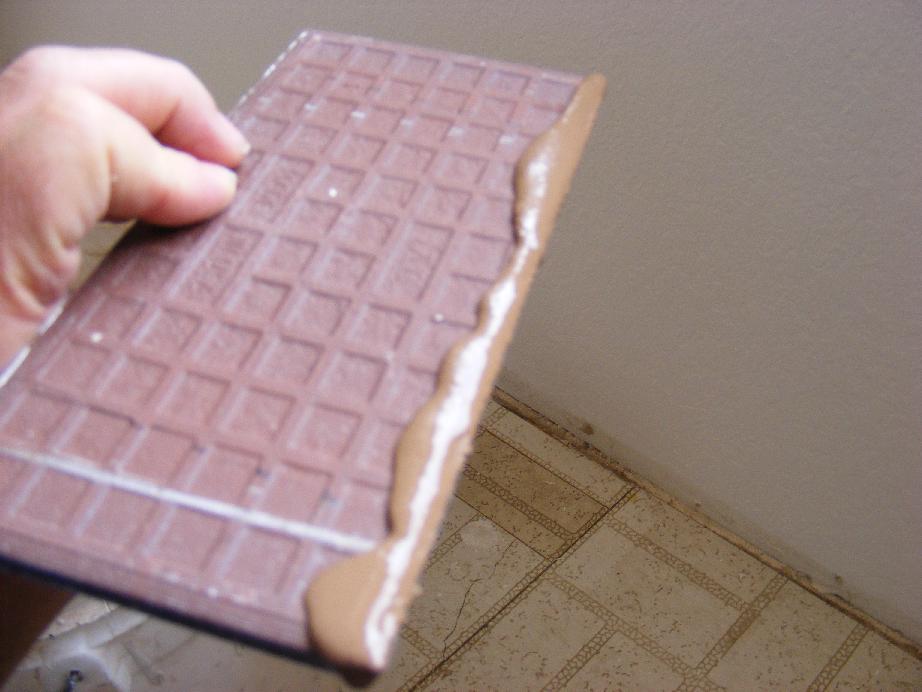
Don't confuse bullnose tiles with mud cap tiles. Bullnose tiles have one of the long edges slightly curved and the bottom surface is flat. Mud cap tiles are not flat on the bottom and one of the long edges curves over and around the edge it will eventually cover.
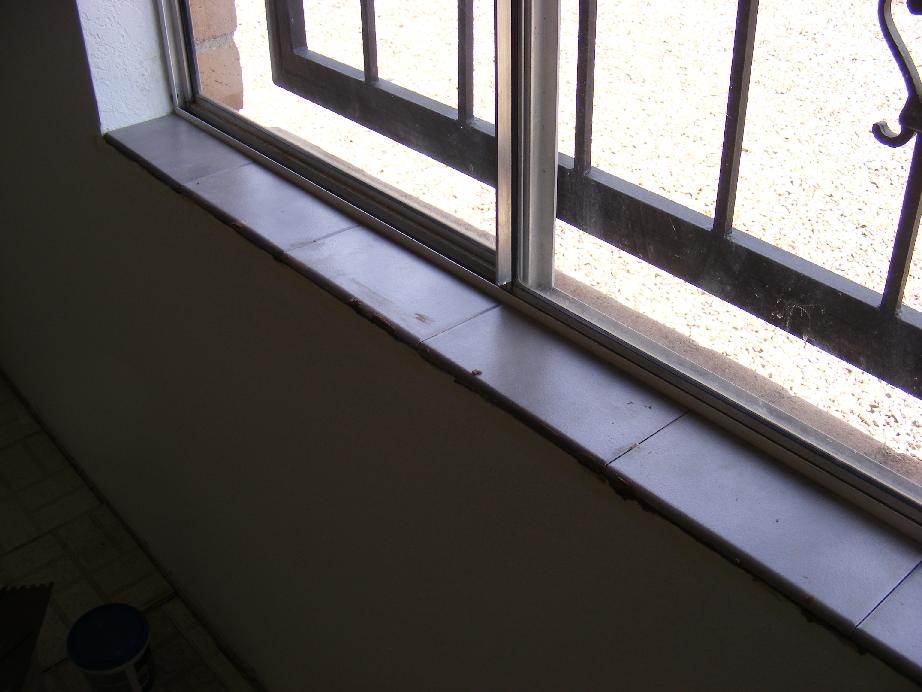
When done the overall appearance adds a touch of class and makes spring cleaning just a little bit easier.

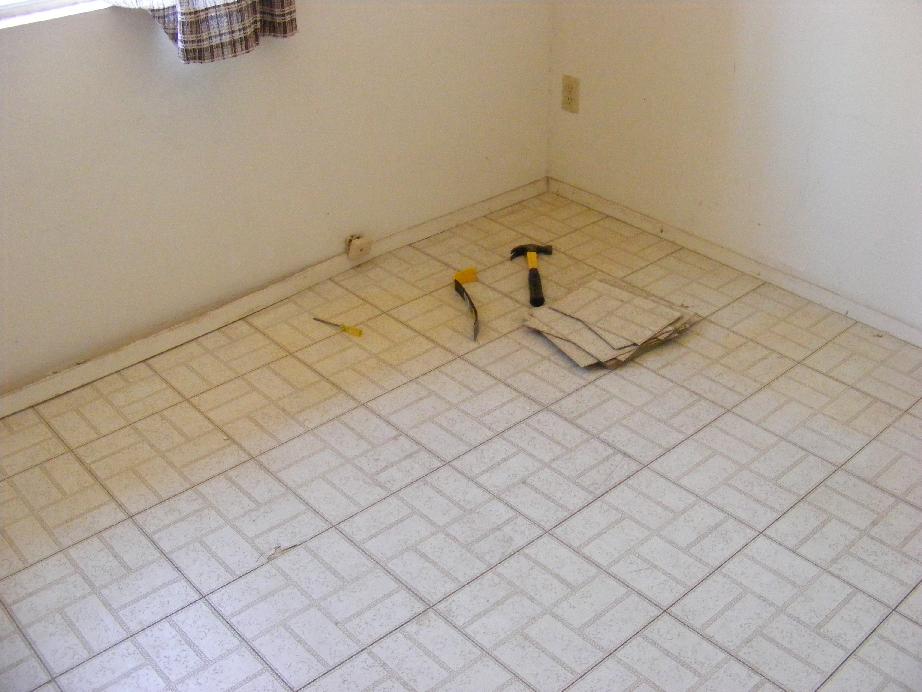
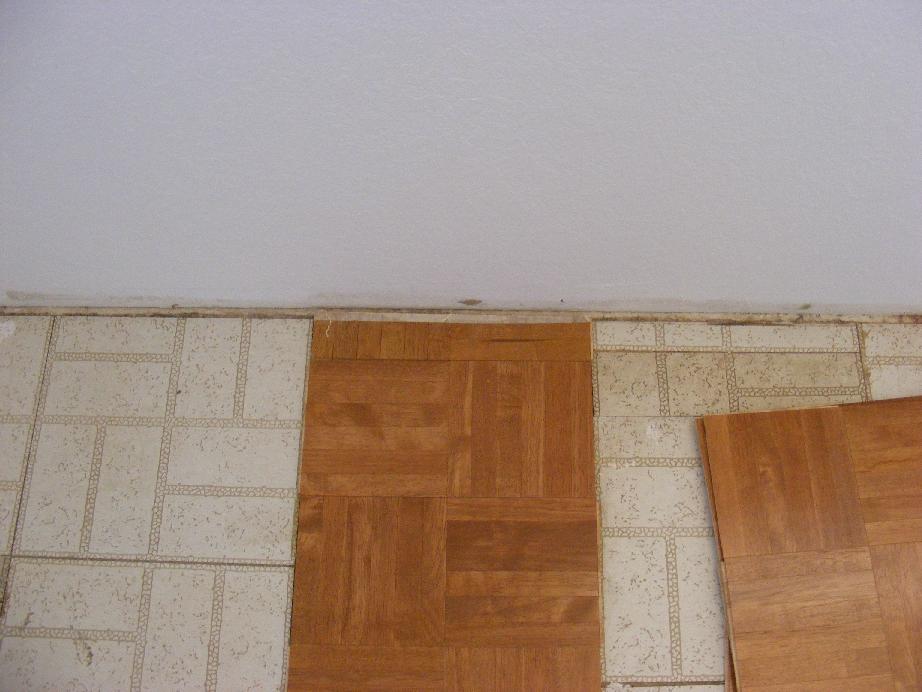


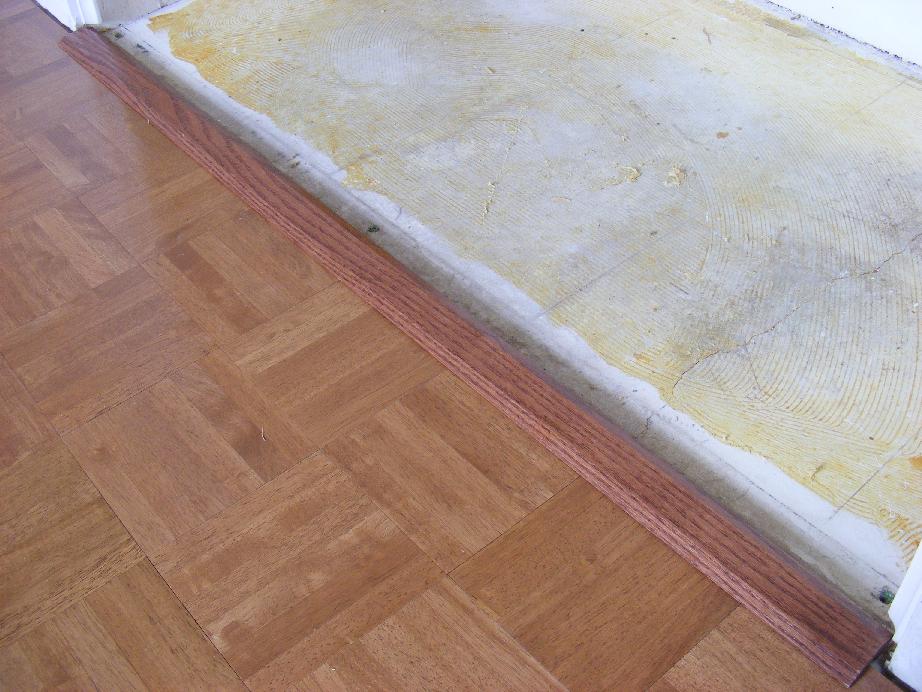
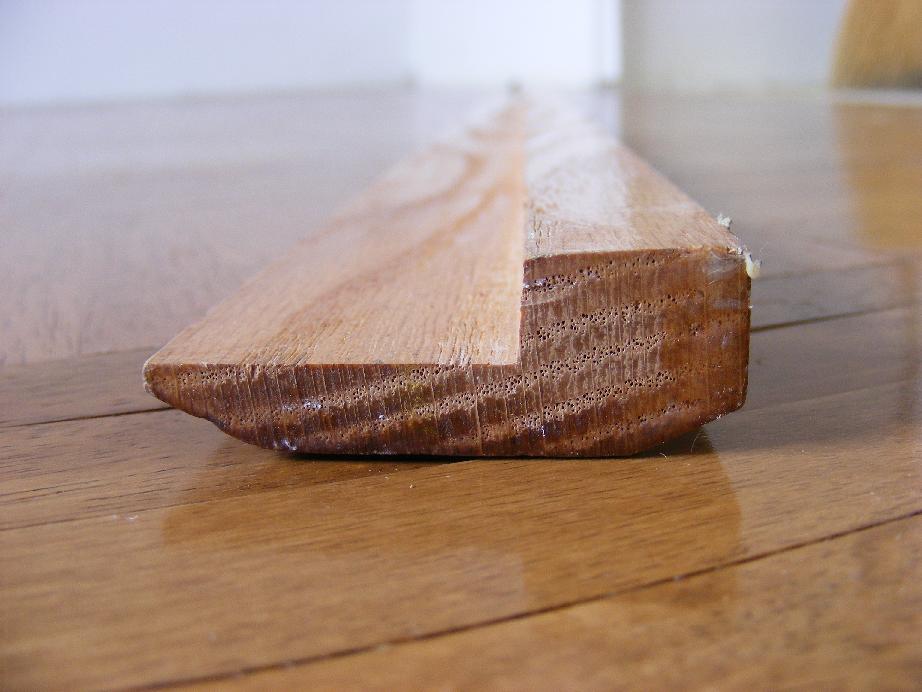
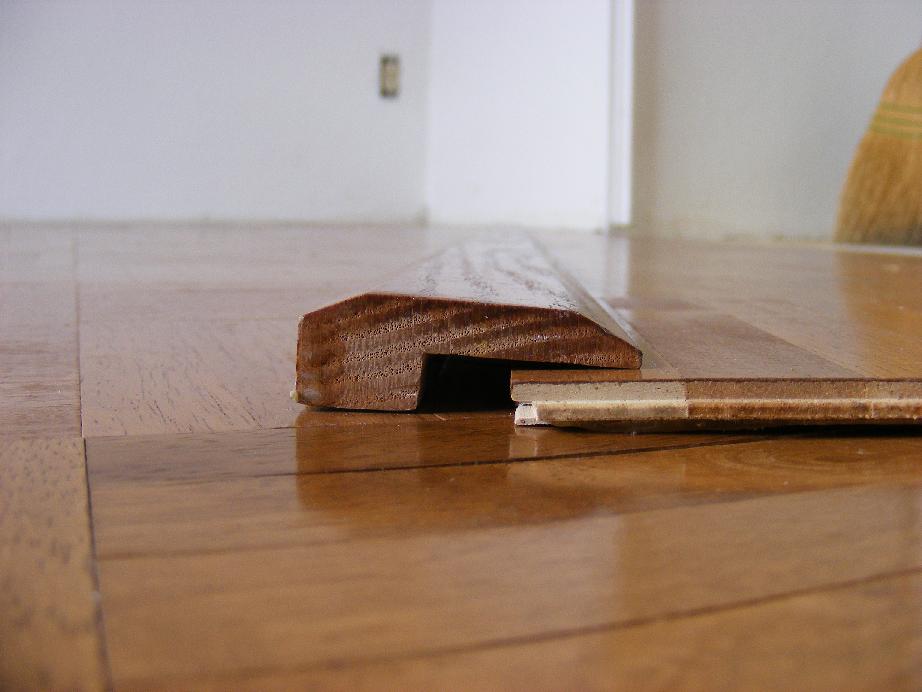
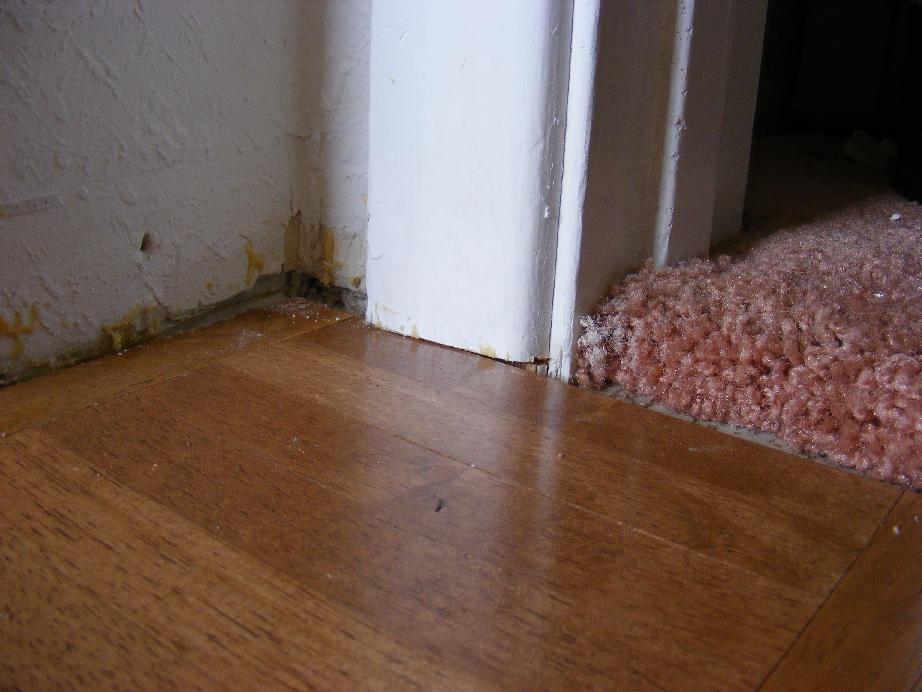

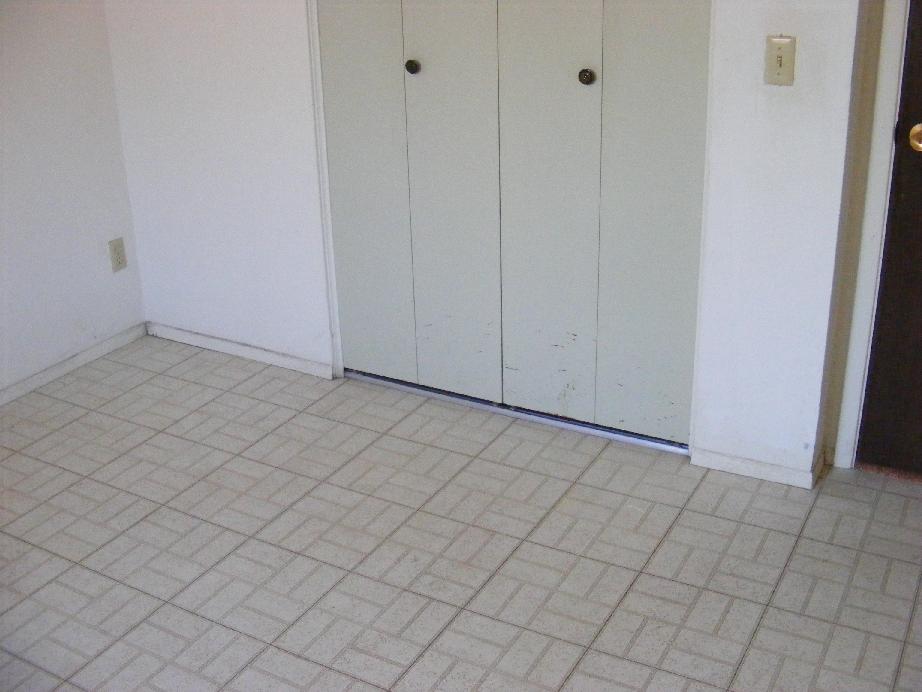
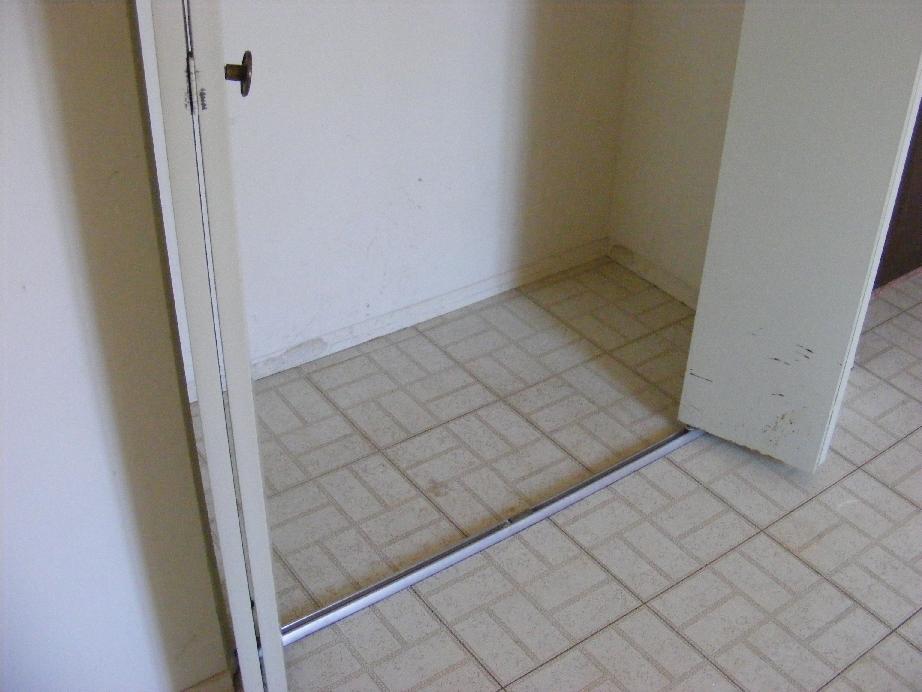
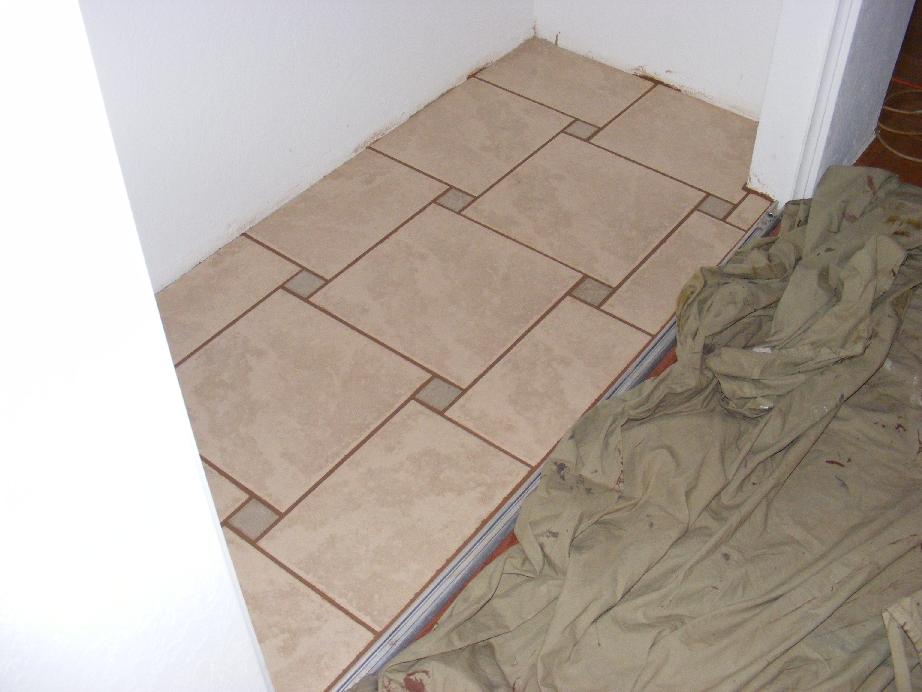
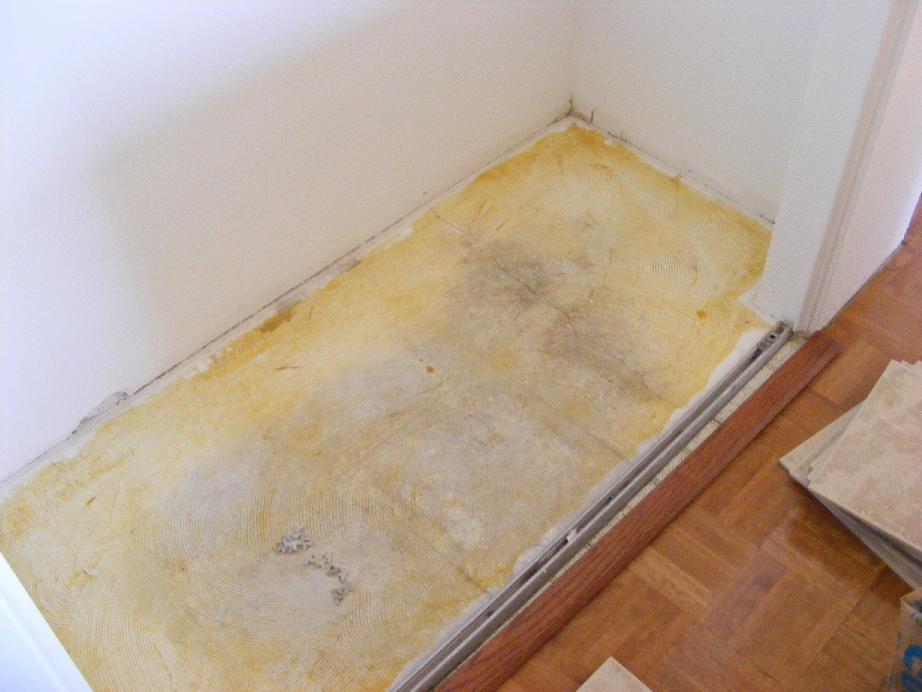
I left the old ugly vinyl tiles in place - sort of. The ugly tiles were made even uglier by swapping out tiles from the utility rooms the cleaner and less used bedroom tiles could be used there. Leaving the tiles in place creates a vapor barrier important in a wood floor installation. I had no issue with clearance of any doors though I did have to undercut the door trim and closet trim.
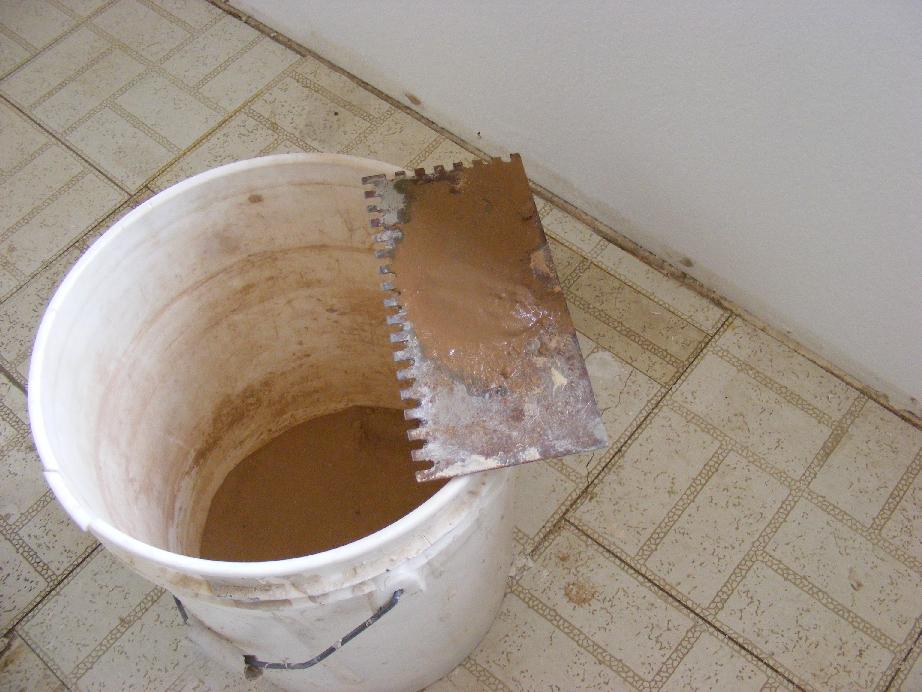
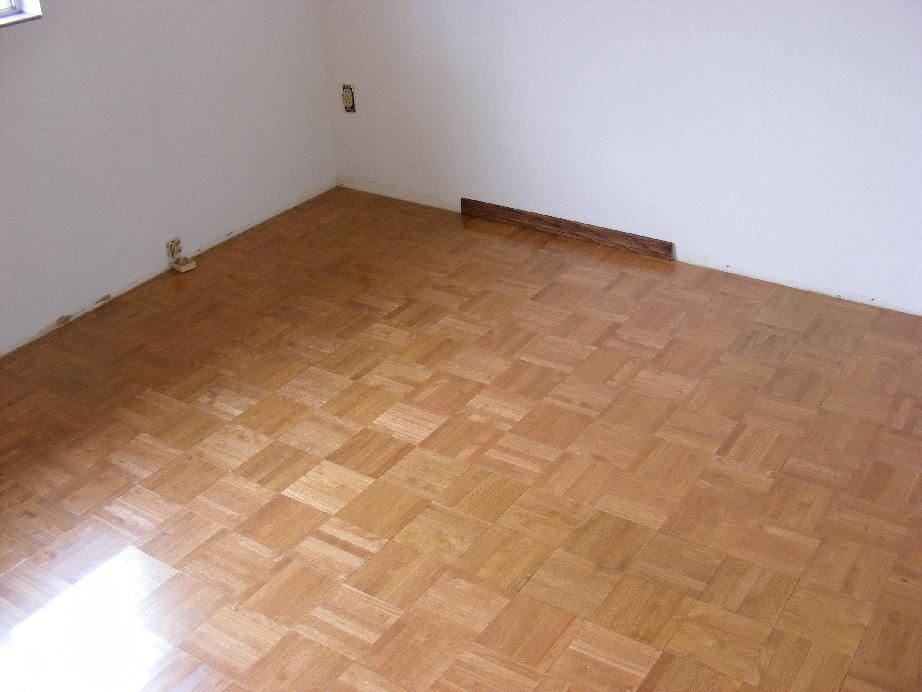
I decided the instructions on the parquet packaging were worth following so I purchased the proper 3/32" trowel and wood floor adhesive. It was too cool to do the installation. I needed 48 hours of indoor temperatures over 65 degrees. By the time the weather warmed up enough, I changed my mind and wanted only one of the two bedrooms I was remodeling to have parquet flooring and that bedroom was not the one where I had laid out the tiles.
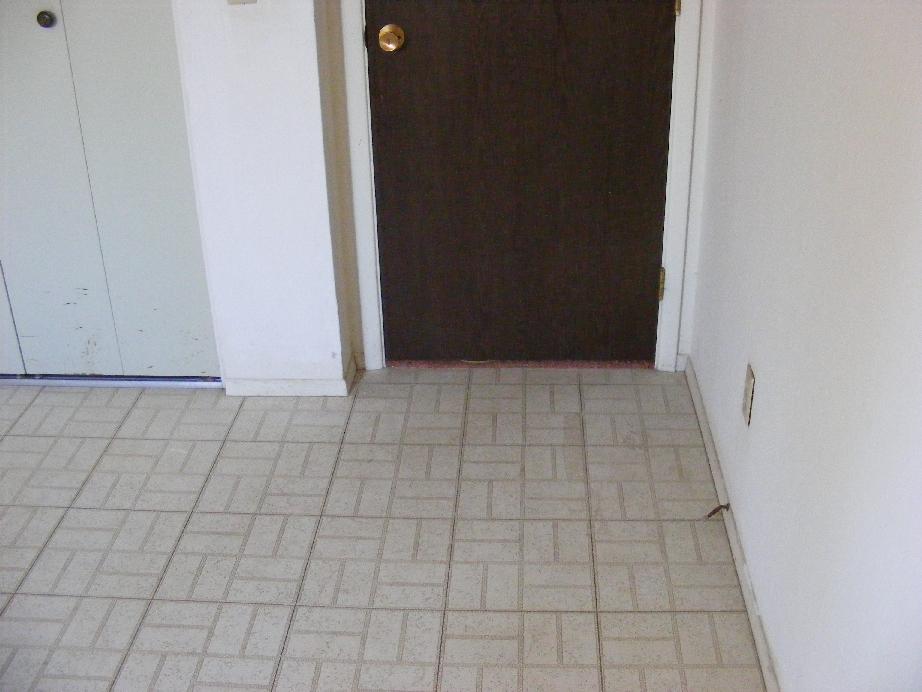
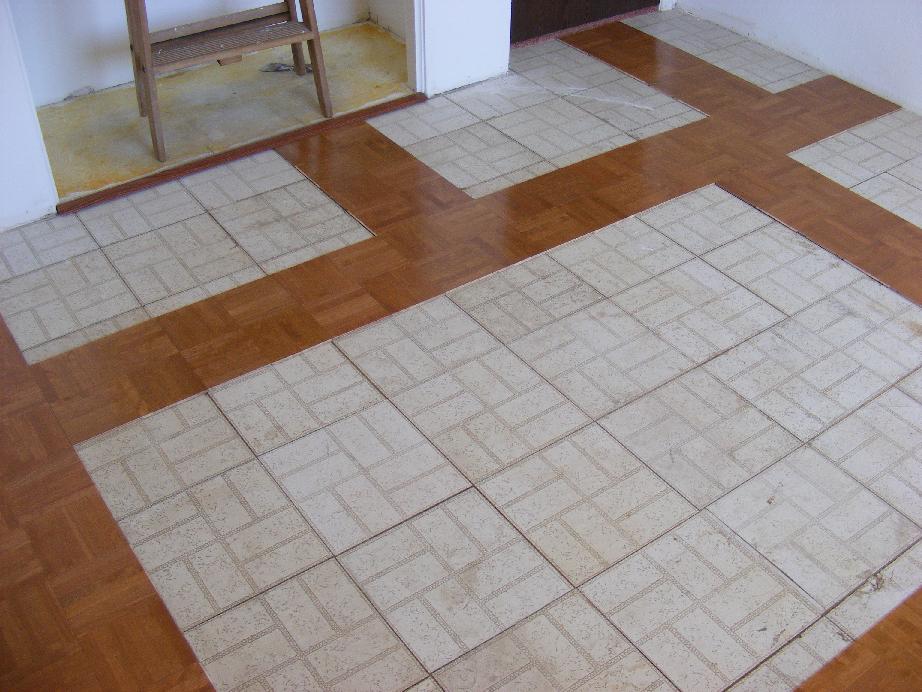
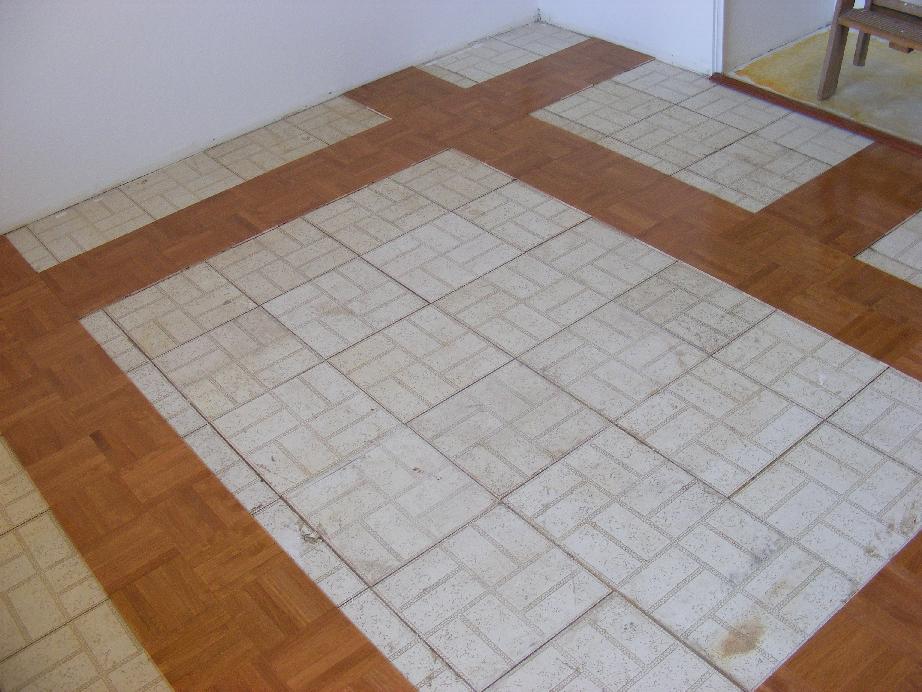
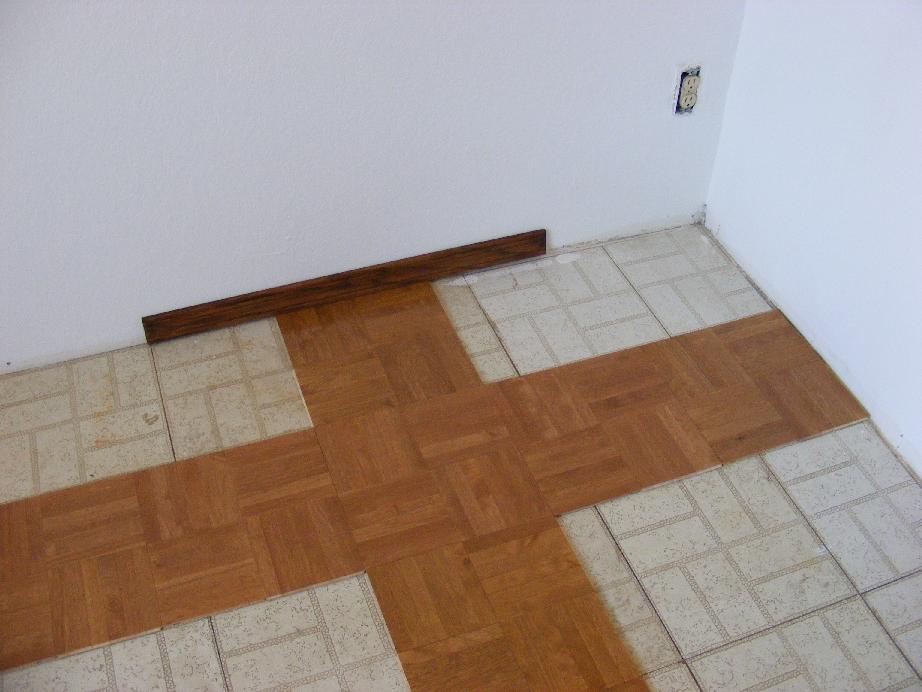
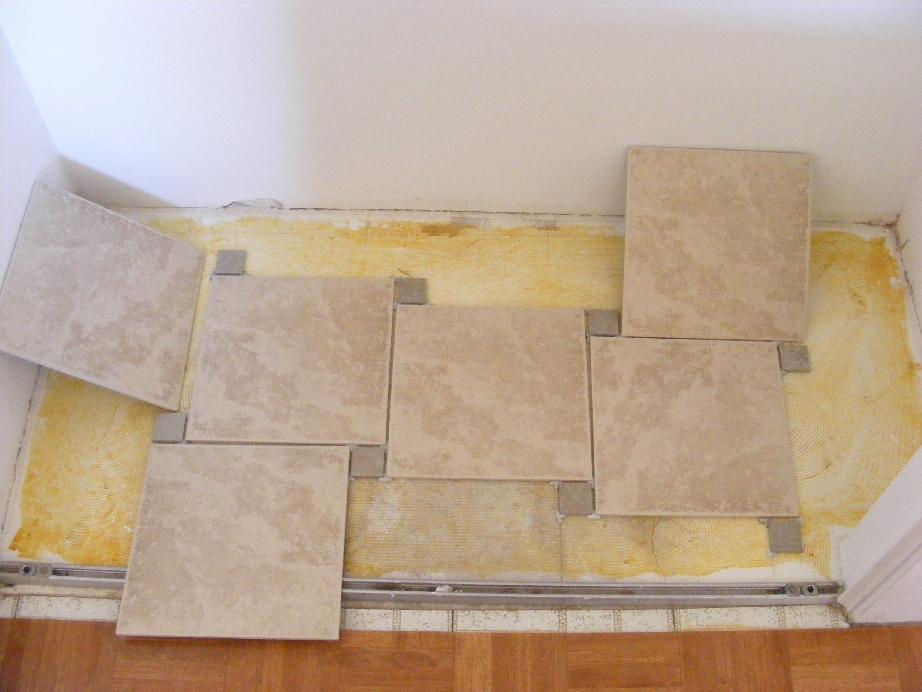
It turned out to be a good decision though. After laying out the tiles, I found that the full tiles fit perfectly against three of the floor walls after leaving the appropriate gap for expansion. That meant I only had to cut eleven tiles and against the far wall where there would be no traffic.
I laid the tiles out in a pattern where I could verify the proper gap at the edges on two ends of each wall. I then spent a couple days dreading the installation. Placing wood adhesive on the floor and tiles in place is a one shot deal and I just wasn't quite ready to take the plunge.
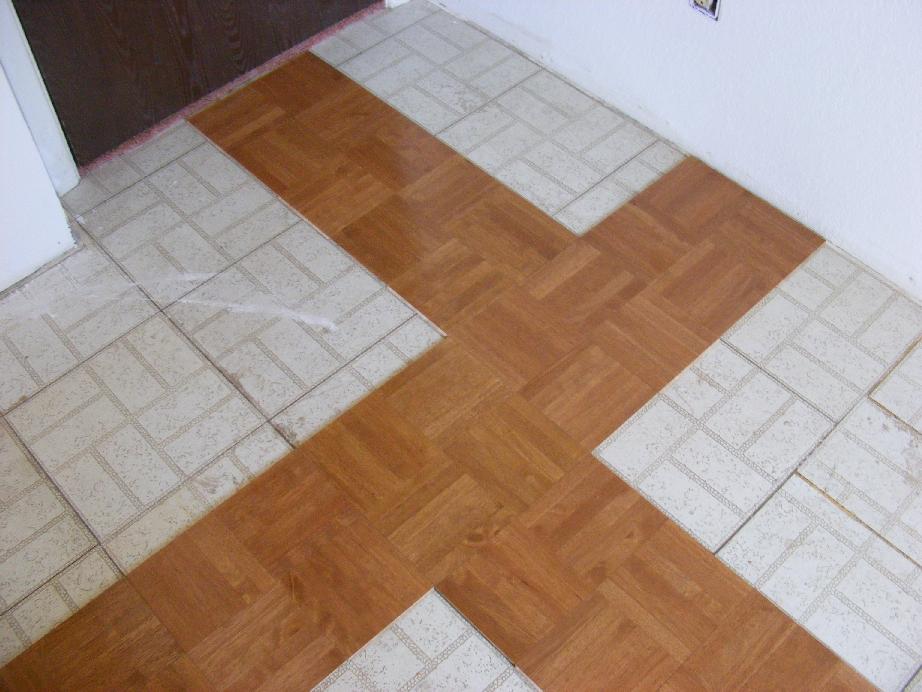
I finally got down to work and set the all-important first tile. I was careful to place it exactly where it was in the trial layout. I then finished the first row. At this point I continued adding rows. This is not how it should be done or how I would do it if I were to do it again. It is better to lay a second row of tiles perpendicular to the first and down the middle of the room and then add tiles in a pyramid arrangement from the original row. This reduces any small errors that can be added as you lay the tiles. You should lay down two chalk lines where the edge of the two rows will go. It is important to get the lines perpendicular to each other and parallel to the walls. In my case I could use the edge of the existing tiles as a guide. Whoever had laid them out during the building of the home did an excellent job, making my job much easier.
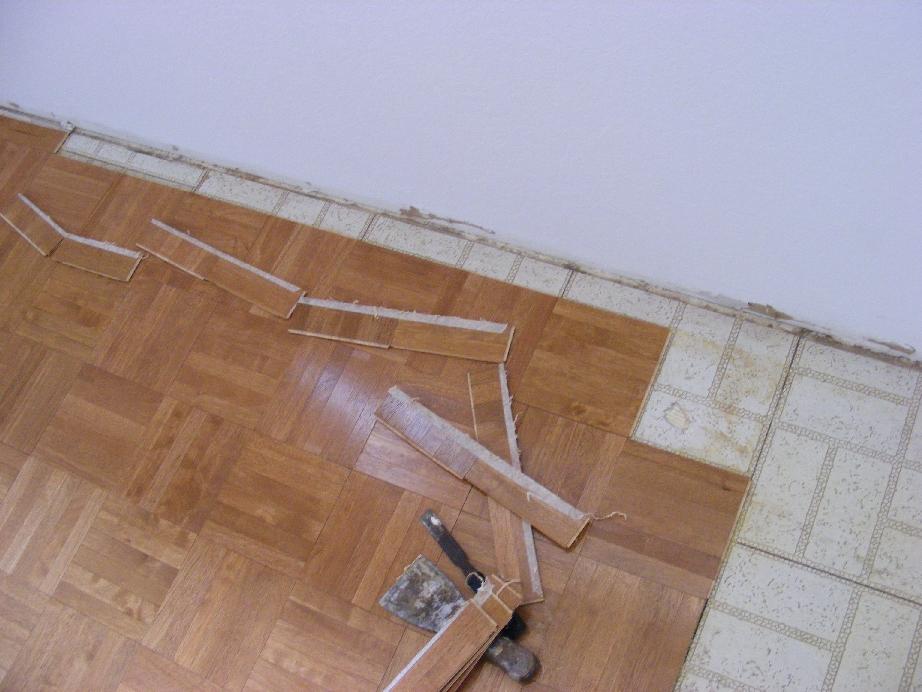
I cut the tiles that were to go against the far wall only after the full tiles were in place. I found it best to place masked tape over the cut. I could not only mark the cut with a pencil, but the parquet floor would not come apart as easily with the masked tape in place.
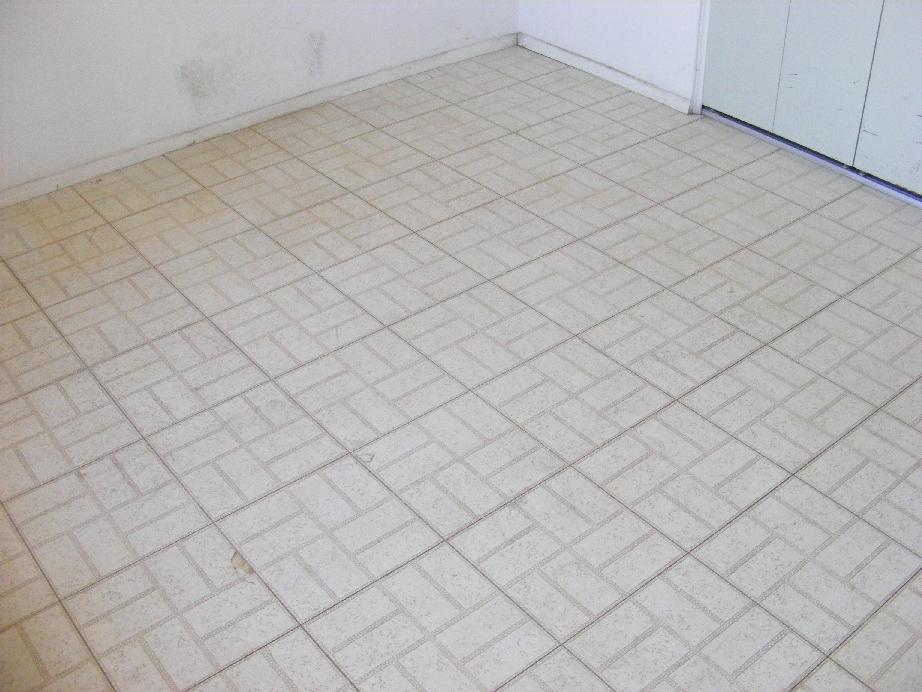
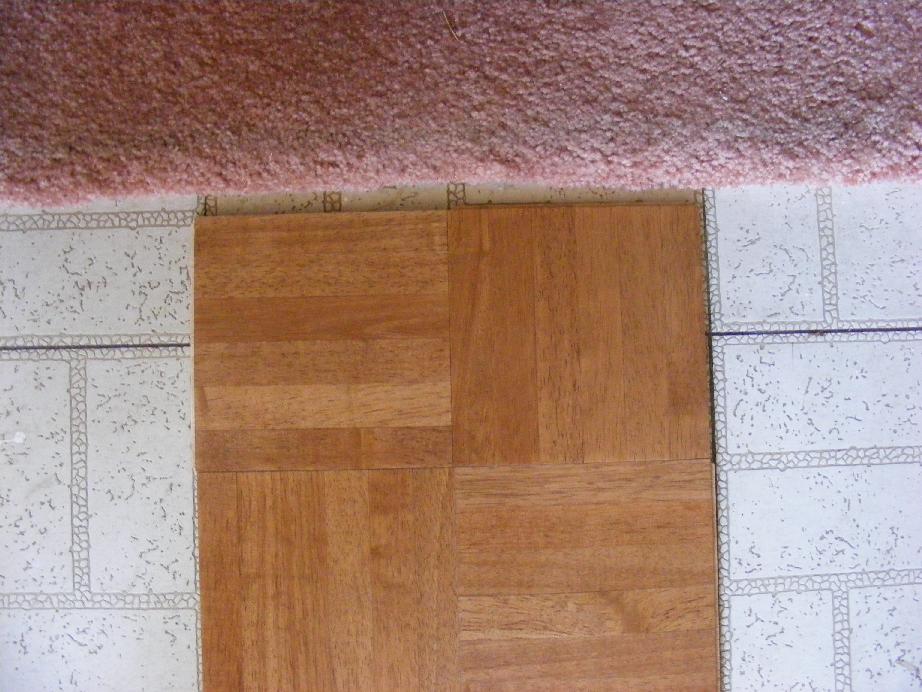
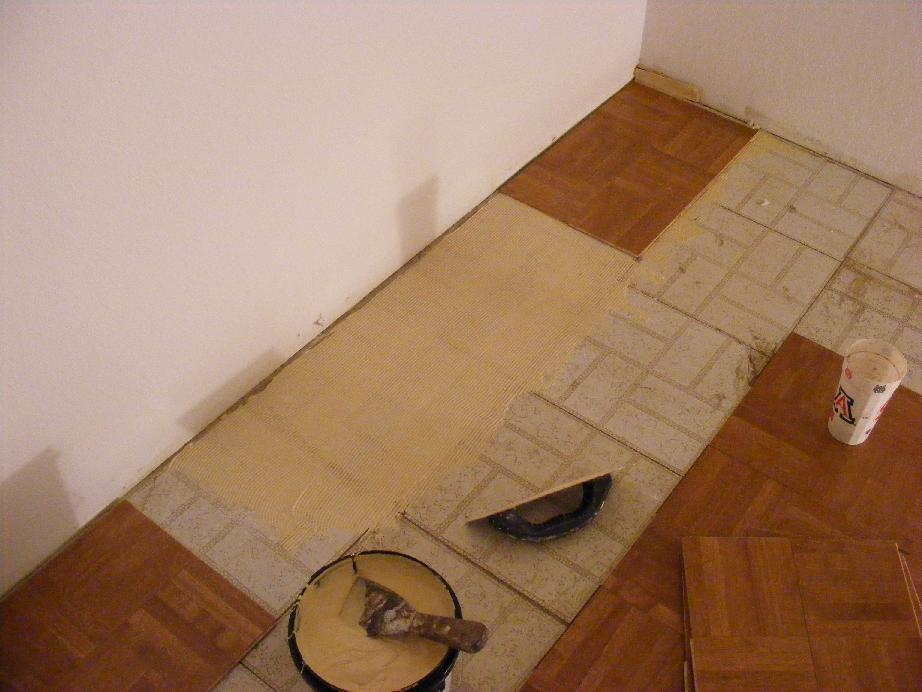
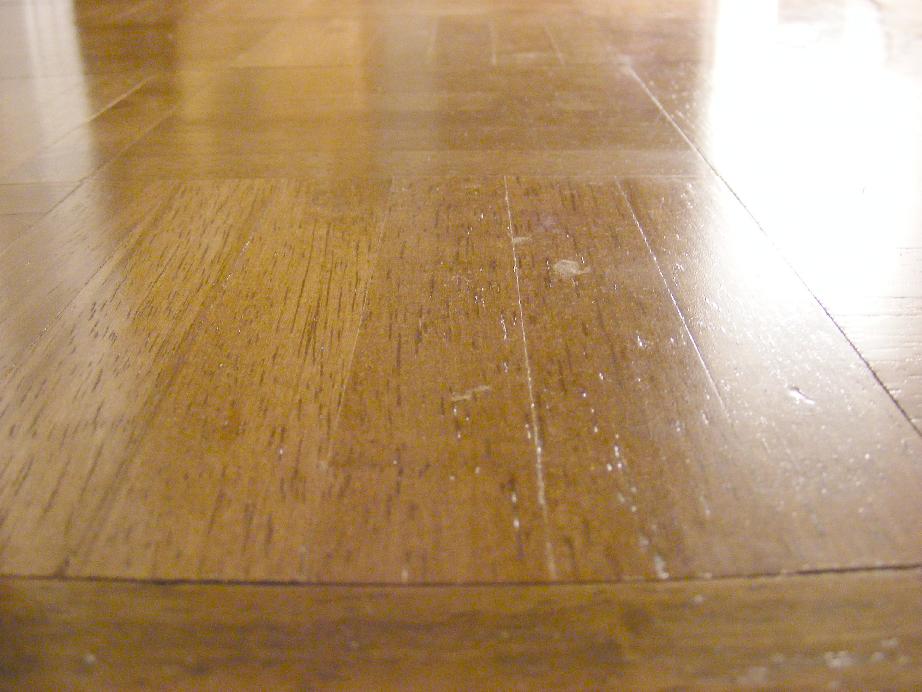
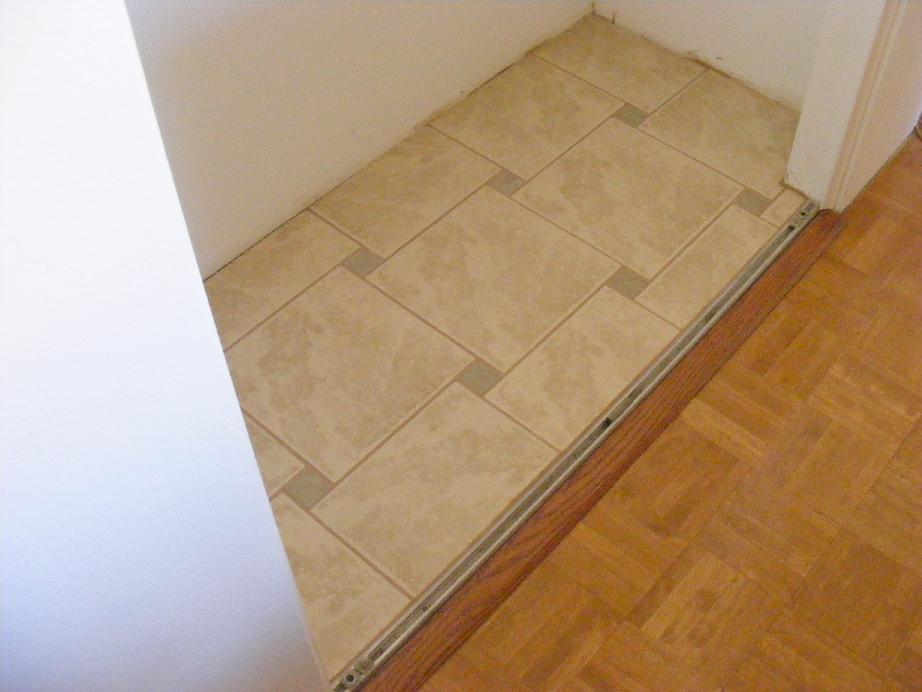
I was very careful laying the tiles and after the first night all seemed to be going well. I used a three-inch putty knife to place a 'dollop' of adhesive where each square foot tile would be placed - three or four dollops at a time. I used the trowel to spread out the adhesive angling the trowel at a high angle. I then lowered the angle of attack and filled in the edges. I overlaid part of the second row while installing the first row as can be seen in the picture. Whether it is the dry air we have here or the 45 minute work time as specified in the manufacturer instructions, the adhesive I had overlaid was already dry to the point of being unusable. I was much more careful to lay down the adhesive twelve inches and one row at a time.
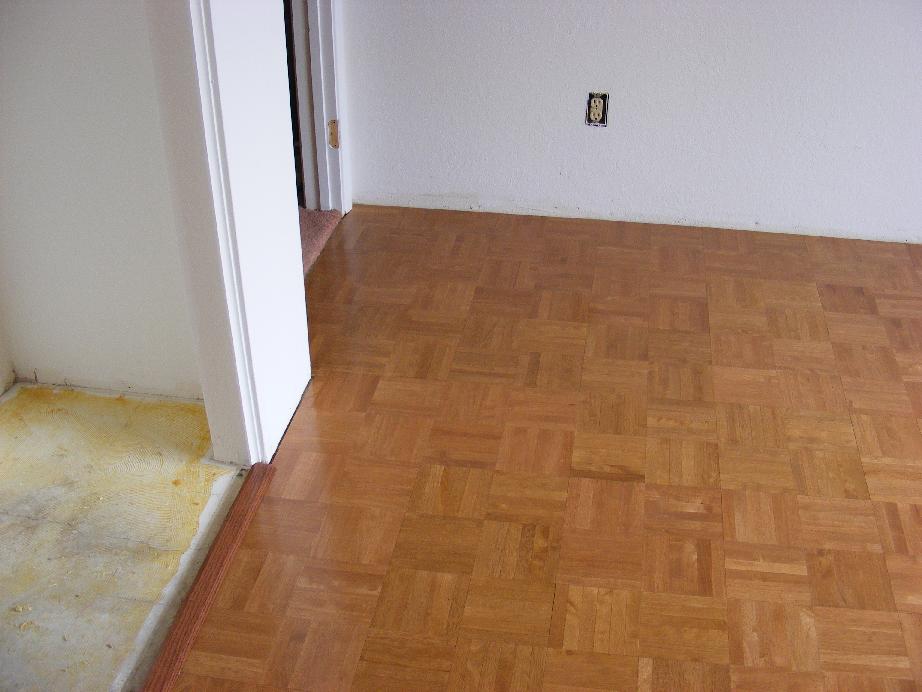
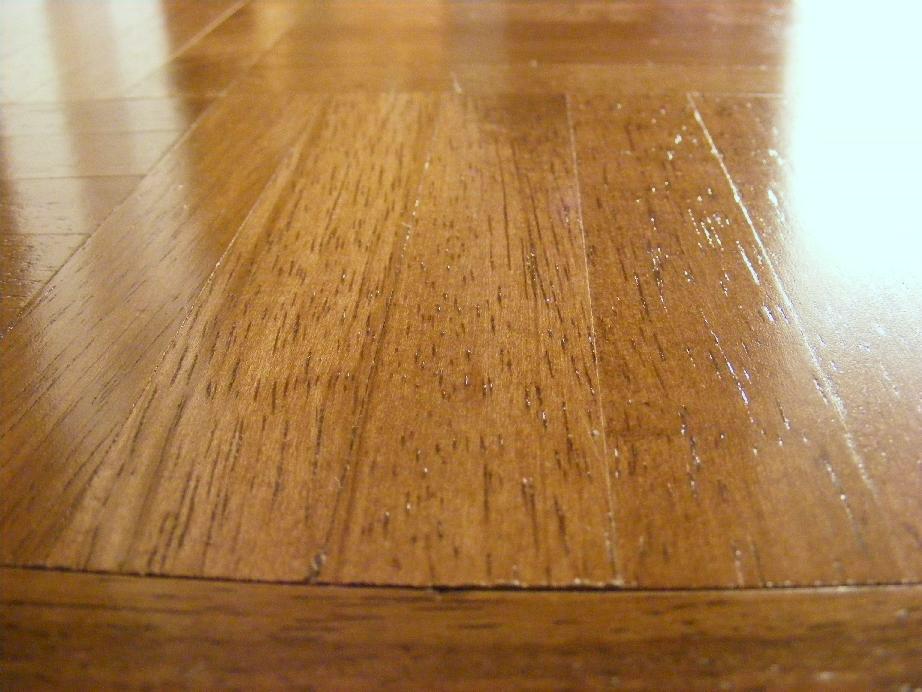
I finished the next afternoon and fortunately the tiles ended up exactly where they were in the layout. I had to remove a few tiles that I found to be damaged or would not fit properly, but all in all it was far less painful than I could have hoped for.
After I was done I went back and cleaned the adhesive off of the tiles. No matter how careful I was it was easy to get adhesive on the top of the tiles. I tended to be somewhat messy during the install partly because I was in a hurry to get the tiles down during the adhesive working time. I placed a light near the floor and in each corner. It is then easy to spot the adhesive by getting down on your hands and knees and looking across the floor surface. I used mineral spirits and a paper towel to clean of the surface of the tiles. If you are using prefinished tiles you should have no problems using mineral spirits to clean off any dried adhesive. You should test any chemicals on a scrap piece of your wood surface before applying to your beautiful new floor as I did.

| Pecos SoftWareWorks Home | Contact Me | Terms of Use Rev 09/30/10 | Privacy Policy Rev 05/20/09 | About Us | Site Map |
| Tweet |
|
||
|
© Copyright 2007-2015 Alan Norton None of the content may be used or reproduced without written authorization from Alan Norton. |
|||